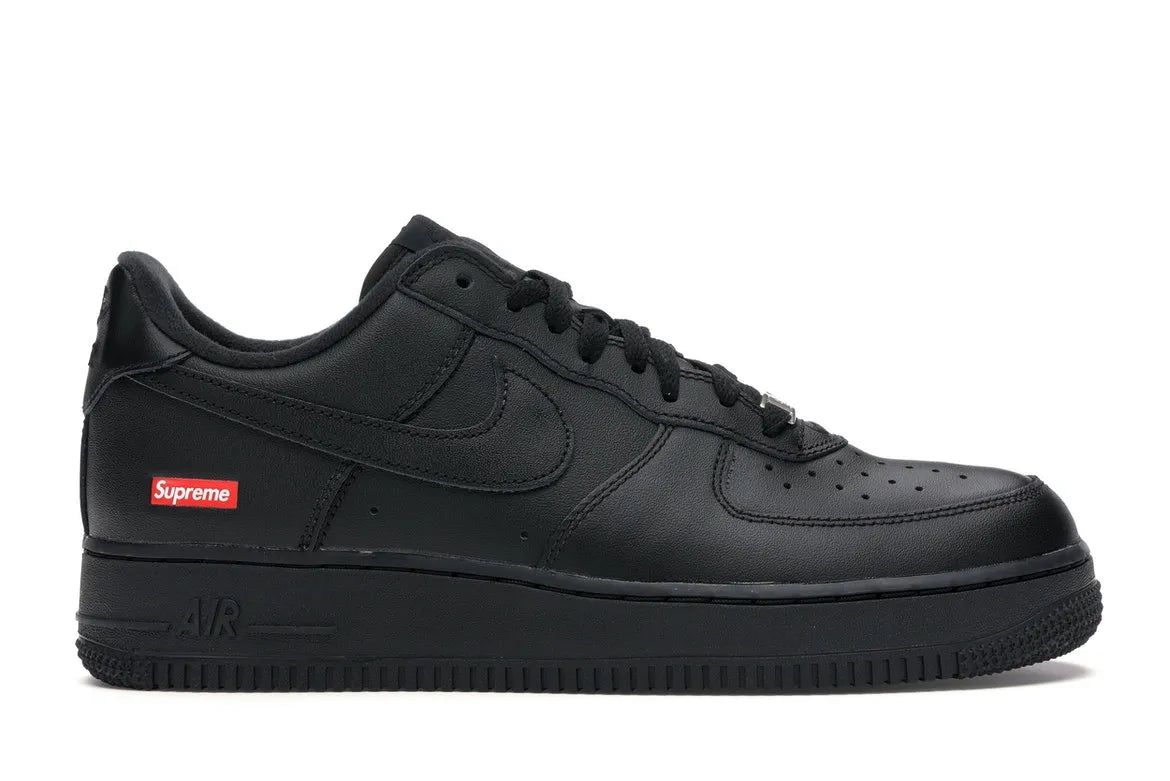
Who would have guessed that there are so many different ways to tie your shoes – crisscross, straight, on the heel, in a grid... Not only do the laces affect how your shoes fit, but they also change their style. We are here to show you plenty of great ways to tie your shoes so you look your best, whether you're on the basketball court or in the boardroom.
Let's start with the classic, simplest method.
1. Criss-Cross
Place the shoe in front of you with the toe pointing away from you. Start with the two frontmost opposite holes and insert each end of the lace from the inside. Make sure both ends of the lace are of equal length.

Work diagonally and insert the right end of the lace into the next left hole (from above). Alternative method: You can insert the lace from the front of the shoe inward (instead of from the inside out), achieving a neater appearance.

Insert the left end of the lace into the next right hole.

Continue in the same way until the last or second-to-last hole.

Make a bow, tighten it, and you're done.
If you're looking for how to make a nice bow, click HERE.

2. Heel lock method
If your heel slips in the shoes, this method can help solve that problem.
Start tying the laces just like with the criss-cross method, but stop before the last hole.

Take the lace on one side and insert it into the hole on the same side. Do the same with the other lace.

Insert the left lace into the loop you have now created on the right side.

Do the same with the other lace.

Tie your shoes as you normally do and enjoy a snug fit without slipping heels!

3. Grid method
The lace goes straight through the bottom and both ends come out through the bottom holes.

The ends of the laces cross, leading diagonally up the outside and threading through the third holes from the bottom (skipping two sets of holes).

Both ends go straight up the inside and come out through the next set of holes on the shoe.

The ends of the laces cross, leading diagonally down the outside and threading through the third holes lower on the shoe (skipping two sets of holes).

Both ends go straight up the inside and come out through the next set of holes on the shoe.

The ends of the laces cross, leading diagonally up the outside and then threading under the sides of the shoe to come out through the top set of holes (skipping two sets of holes).
4. How to make a nice bow
Keep both ends of the laces straight. Cross the right end over the left, then pull the left end over the right and thread it through the loop. Tighten both ends firmly.

Take the right lace and create a loop, holding its center with your finger. Pull the left lace over the right and thread it underneath in a circular motion.

Then thread the left lace through the small loop. Tighten firmly.

5. Straight tying method
Insert one end of the lace into the top right hole (near the toe) and the other end into the bottom left hole (near the start of the shoe). A short piece of lace should remain in the left hole – just enough to tie the lace at the end.

Use the right end of the lace and thread it into the opposite hole in a straight line.

Pull the lace from the bottom and thread it again (again from the bottom) through the next hole.

Continue threading the lace horizontally across the holes until you reach the last hole.

Tie both remaining ends of the laces into a bow.

Final tips:
-
If the bow keeps coming undone, try a double knot. After tying the first bow, make a second bow (with loops). Or after step 3, return the loop back up and thread it through the small hole again before tightening it firmly. undefinedIf the laces are slightly different in length,undefined don't worry about it.
-
If the laces are slightly different in length, don't worry about it. Just tie them in the usual way.
-
If the laces are very different in length, start over and make sure that when you first thread them, the laces are of equal length.
These tips will help keep your shoes tied and stylish all day long!


